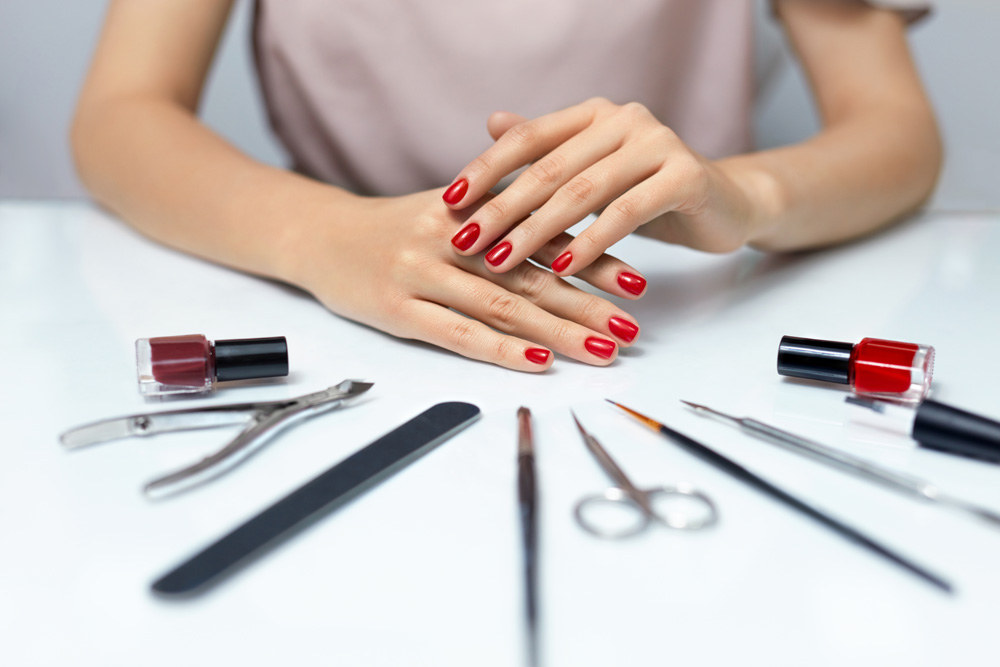
We all love going to the salon for some pampering and downtime, but juggling in an appointment around all the family visits and celebrations during Eid can be tricky. So if you’re doing your talons at home, here are all the tips you need to achieve a flawless DIY manicure. Just find yourself a bit of time and voila, you’ll have salon-worthy results minus the bill, which frankly we can all do without after buying all those gifts.
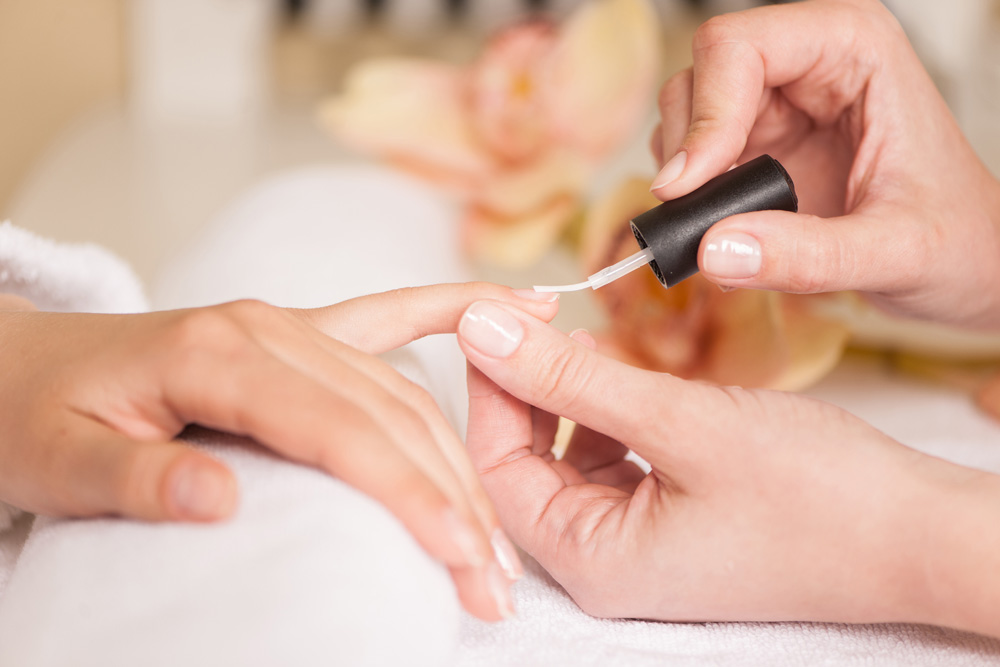
Always start with a base coat: Think of base coat as a primer for your nail polish, it preps and smoothens and gives the colour something to grasp on to, it also makes your manicure last a few days longer. What’s more, it prevents your nails from getting stained, so it’s really worth adding a couple more minutes to your routine. When you’re applying your base coat, always make sure you include your nail tips, which are more prone to chipping. You can also try using a rubberised base coat, which some nail technicians swear by.
Roll rather than shake your nail polish: Instead of shaking your nail polish up and down, hold the bottle vertically between your palms and rub your hands back and forth. This stirs the polish yet ensures there won’t be any air bubbles in the lacquer or on your nails as you swipe it on. This is important in a humid climate, which often causes that dreaded bubbling.
Soak nails in water and white vinegar before applying nail polish: If you soak your nails in a solution of water and white vinegar, you’ll strip the nails of any oils or moisturisers left over from polish remover, which can also avert bubbles. Wiping your nails with a paper towel doused with vinegar works just as well. This step also helps the polish stick better, therefore prolonging your manicure.
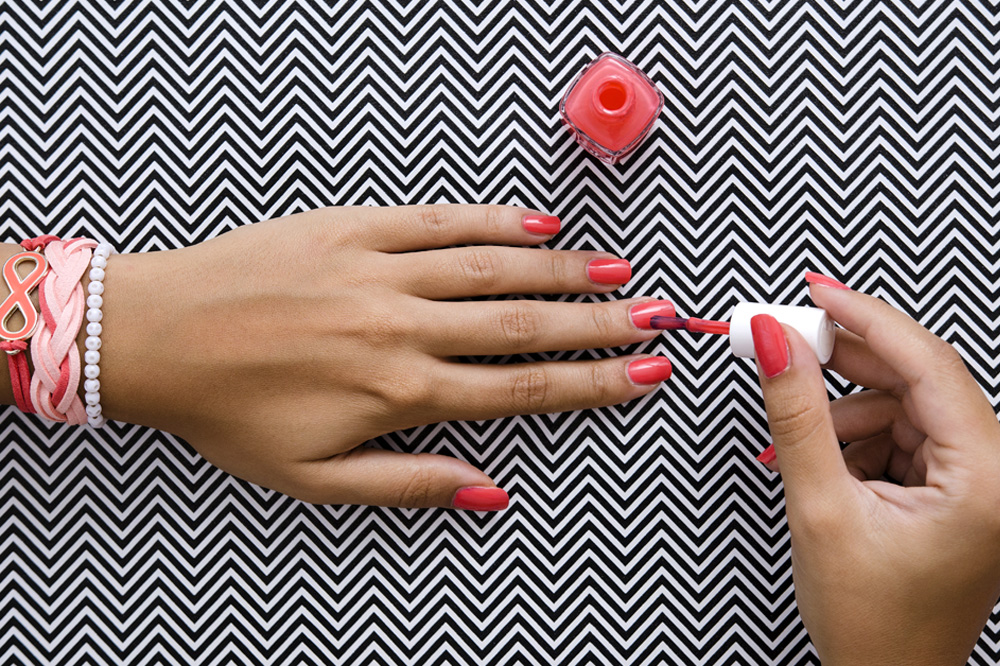
Remember the three-stroke method: Whenever you’re painting your nails, it's best if you use just three strokes to apply the polish, it’s one of the sacred rules of a good nail polish technique. Dip the brush into the bottle to get a dot of polish on the edge of the brush, then start at the base of your nail, applying one stroke to left, one to the right and one down the middle, always spreading the polish out as you’re placing it on the nail.
Spread on several thin coats instead of one thick coat: In general, most polishes are formulated to go on in multiple coats. If you apply only one thick coat, it dries at the top layer, leaving your manicure exposed to smudges. So unless you have a rare opaque kind of polish, make sure you apply three thin coats rather than one or two gloppy layers to make your lacquer dry faster. Think of polish as oil paints, the thicker the layers, the longer it takes to dry. The trick is to wipe off some excess polish before each application, but keep enough on the brush so you don’t have to keep going over things.
Use small, old make-up brushes to wipe out mistakes: We all cross the nail line when applying polish, but a great way to erase mistakes is to dip a little, old brush, like a lip one, into nail polish remover. Then all you need to do is swipe it around your nail bed for an easy, meticulous clean-up technique.
Include cuticle oil in your DIY manicure: Cuticle oil instantly adds that salon-perfect effect as it hydrates your nails in a jiffy. You should also spread it over your entire nail after you've finished applying the colour. This also protects your nail colour from marks in case you hit your talons against something.
Dip fingers in cold water to help polish dry faster: Placing your hands under running cold water or dipping your fingertips into ice water for a while helps set the paint, allowing your polish to dry faster. You can let the polish air dry a couple of minutes before filling a bowl with ice and water and dunking your nails in for a few more minutes.
Get out some non-stick cooking spray to set nails: Non-stick cooking spray also works if you want your polish to dry pronto. All you need to do is hold the can a few inches away and spray your nails evenly. After a couple of minutes, you can wash the residue off. This trick not only sets your nails, it prevents smudges too.
Find some petroleum jelly or craft glue to help erase slips-ups: By rubbing on some petroleum jelly like Vaseline or Aquaphor around your nail cuticles, you create a barricade between the polish and your skin. And this allows you to wipe off any errant polish mistakes along the way. Another hack that keeps polish from drying on the skin around your nails is to paint the area with white craft glue first and let it dry. Once you’ve painted your nails, you can simply peel off the glue, cleaning up as you do it.
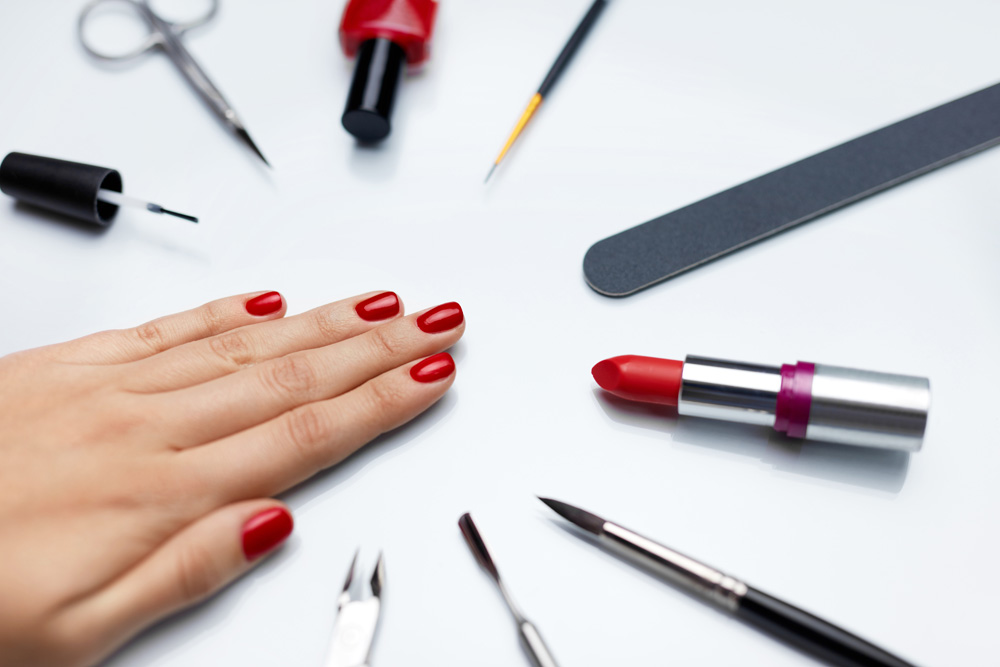
Always finish with a top coat: Top coat acts like a barrier to protect from peeling and chipping, so it ultimately helps you achieve a long-lasting manicure. When you put some on, always make sure to include the very tips of your nails so that if you hit them, you're less likely to have notches. Plus, try not to use your base coat as a top coat and vice versa. Base coats don’t have the same shine as top coats, and top coats don’t have the same essential sticky surface that you need in a base coat.